¶ Post Install script
After the first installation of Proxmox, you can choose to run a post install script from tteck.
This script provides options for managing Proxmox VE repositories, including:
- disabling the Enterprise Repo,
- adding or correcting PVE sources,
- enabling the No-Subscription Repo,
- adding the test Repo,
- disabling the subscription nag,
- updating Proxmox VE,
- and rebooting the system
You can find the script here, or run below command in the Proxmox VE Shell:
bash -c "$(wget -qLO - https://github.com/tteck/Proxmox/raw/main/misc/post-pve-install.sh)"¶ Configure updates (non-subscription)
The guide below is also included in the above Post Install script, but if you don't want to execute the complete script, you can follow this section to configure the non-subscription updates.
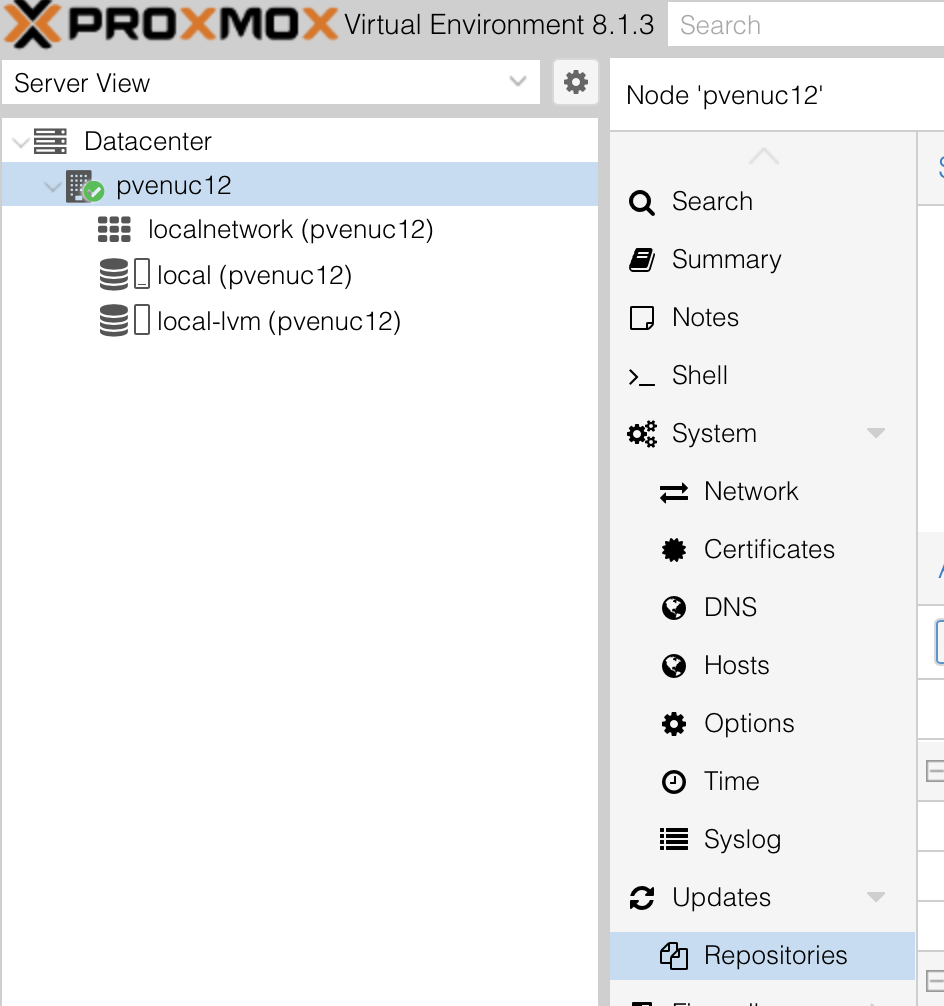
Once logged in (with user root and password you chose on installation), select the node from the left hand side, and go to the Repositories section in Updates.
Select the (2) enterprise ‘components’, and mark them as disabled.
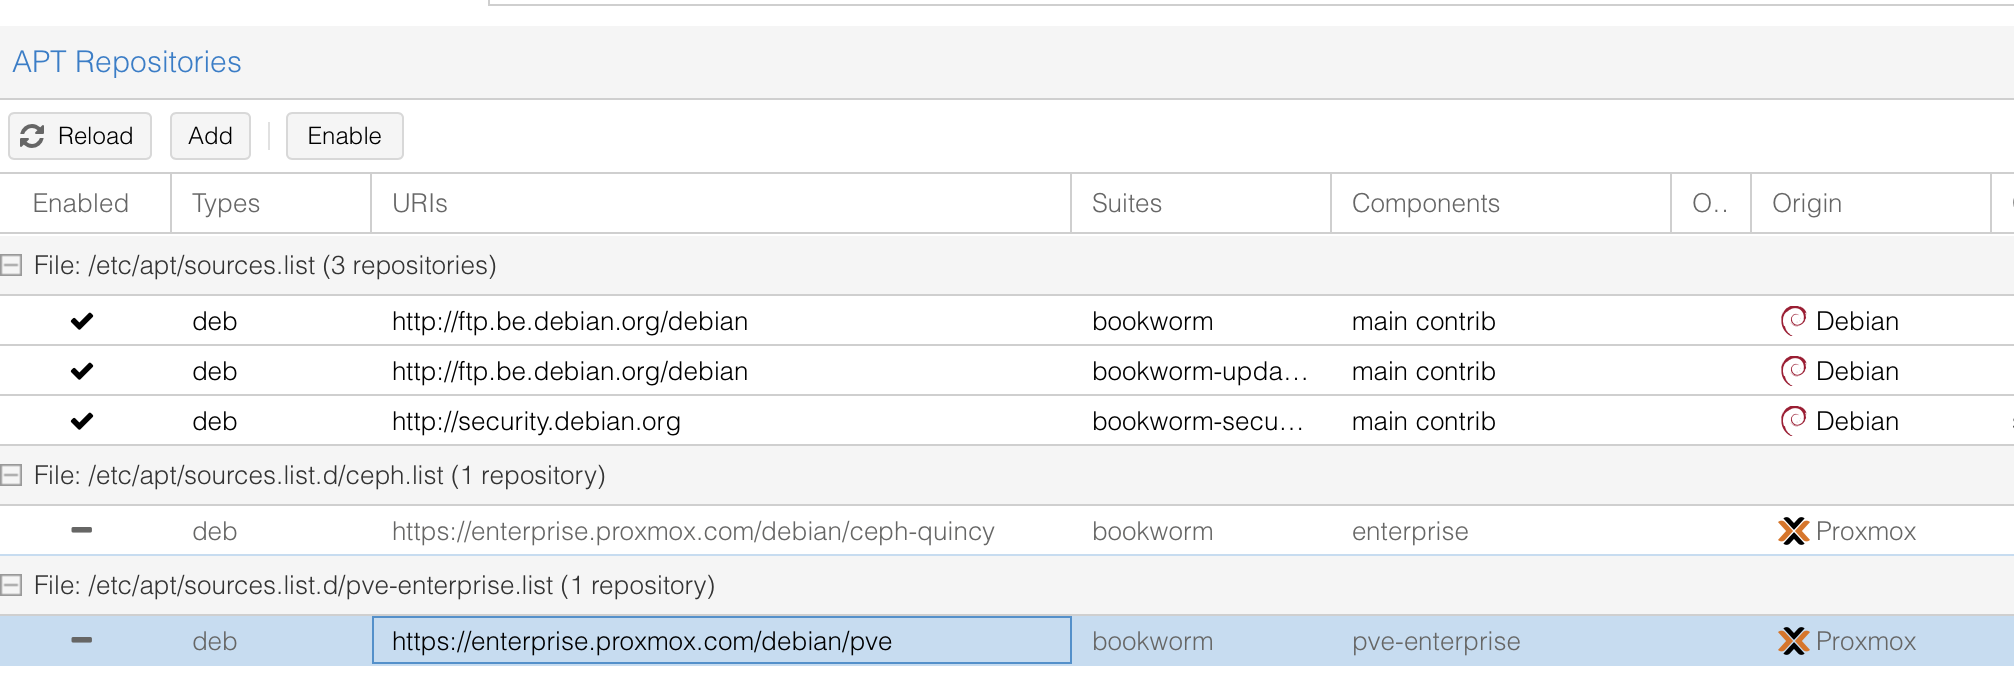
Click Add Repository, and select the No-Subscription Repository.

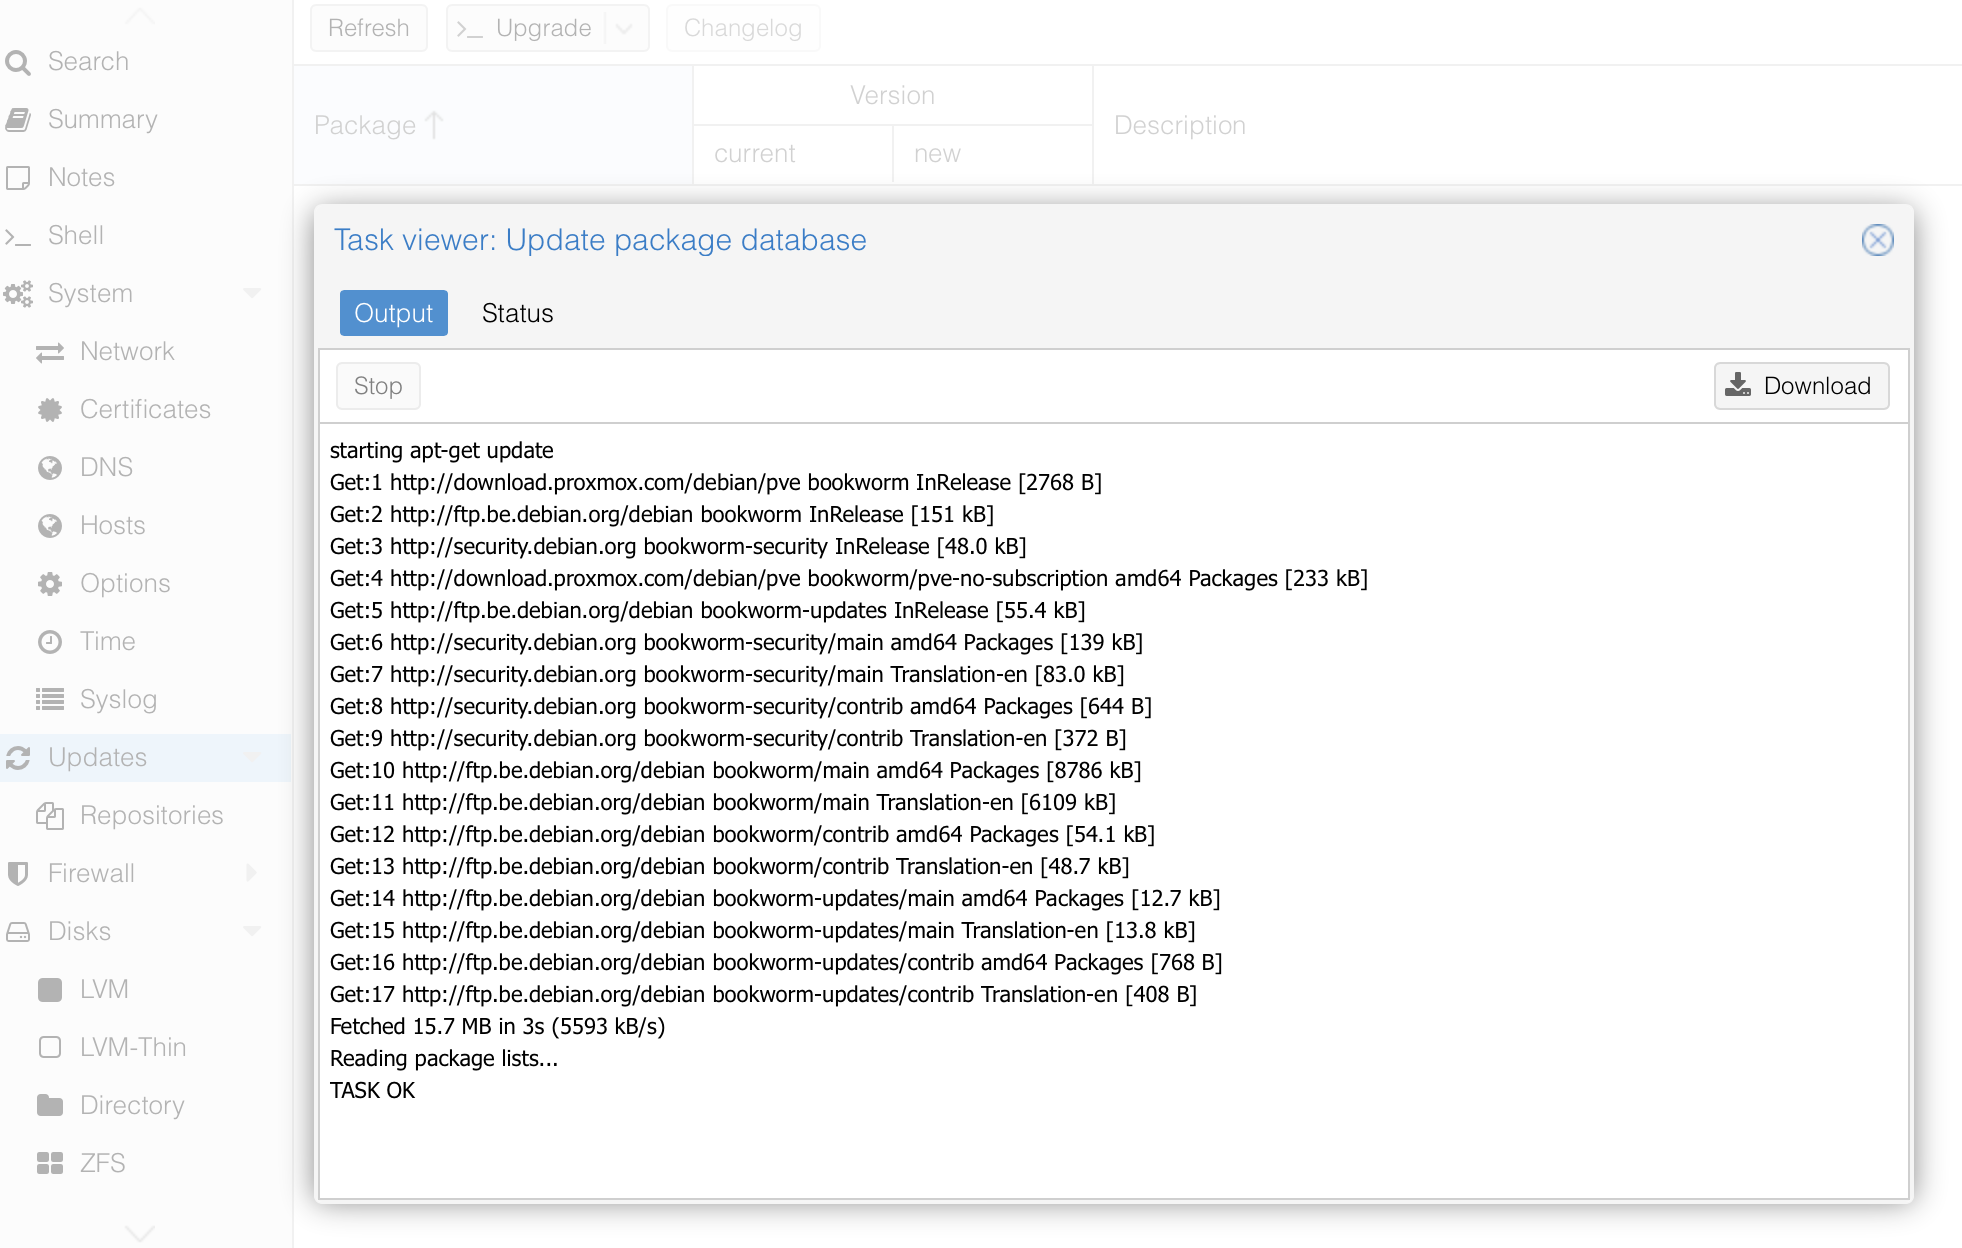
Validate if your Proxmox instance is able to update, by clicking on ‘Refresh’ in the update section.
If the previous task was OK, upgrade your node to the latest version by clicking on the Upgrade button. This might take some time. After the upgrade was completed, reboot the node.
¶ Install custom certificate
If you want or need to use your own certificate, you can do so by selecting Certificate under System within your node.
Click “Upload Custom Certificate”
Select the private key and Certificate Chain from file or paste the contents of the files and click Upload.
The API server will be restarted, and you will need to refresh the browser for the changes to be visible.
¶ Connect to a network UPS
Go to the shell of your node, and follow these steps:
apt-get install nutEdit /etc/nut/nut.conf:
MODE=netclientEdit /etc/nut/upsmon.conf: MONITOR <system> <powervalue> <username> <password> ("master"|"slave"):
MONITOR ups@10.2.0.2 1 upsmon <password> slaveStart monitoring:
upsmon startTo check UPS status: upsc <name> for direct attached units or upsc <name>@<address> for remote
upsc ups@10.2.0.2You can find more info on NUT here: Network UPS Tools User Manual
¶ Add shared storage (connect NFS share)
Click on Datacenter, and then Storage.
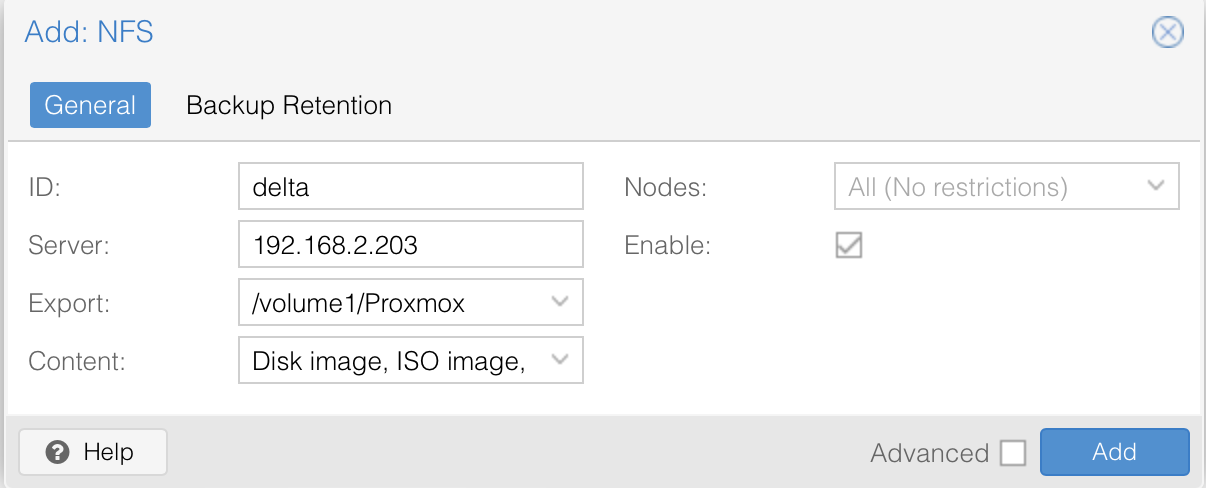
Click Add, and select NFS
In the pop-up window, enter the necessary info for your NFS share.
For content, you can select whatever your need is.
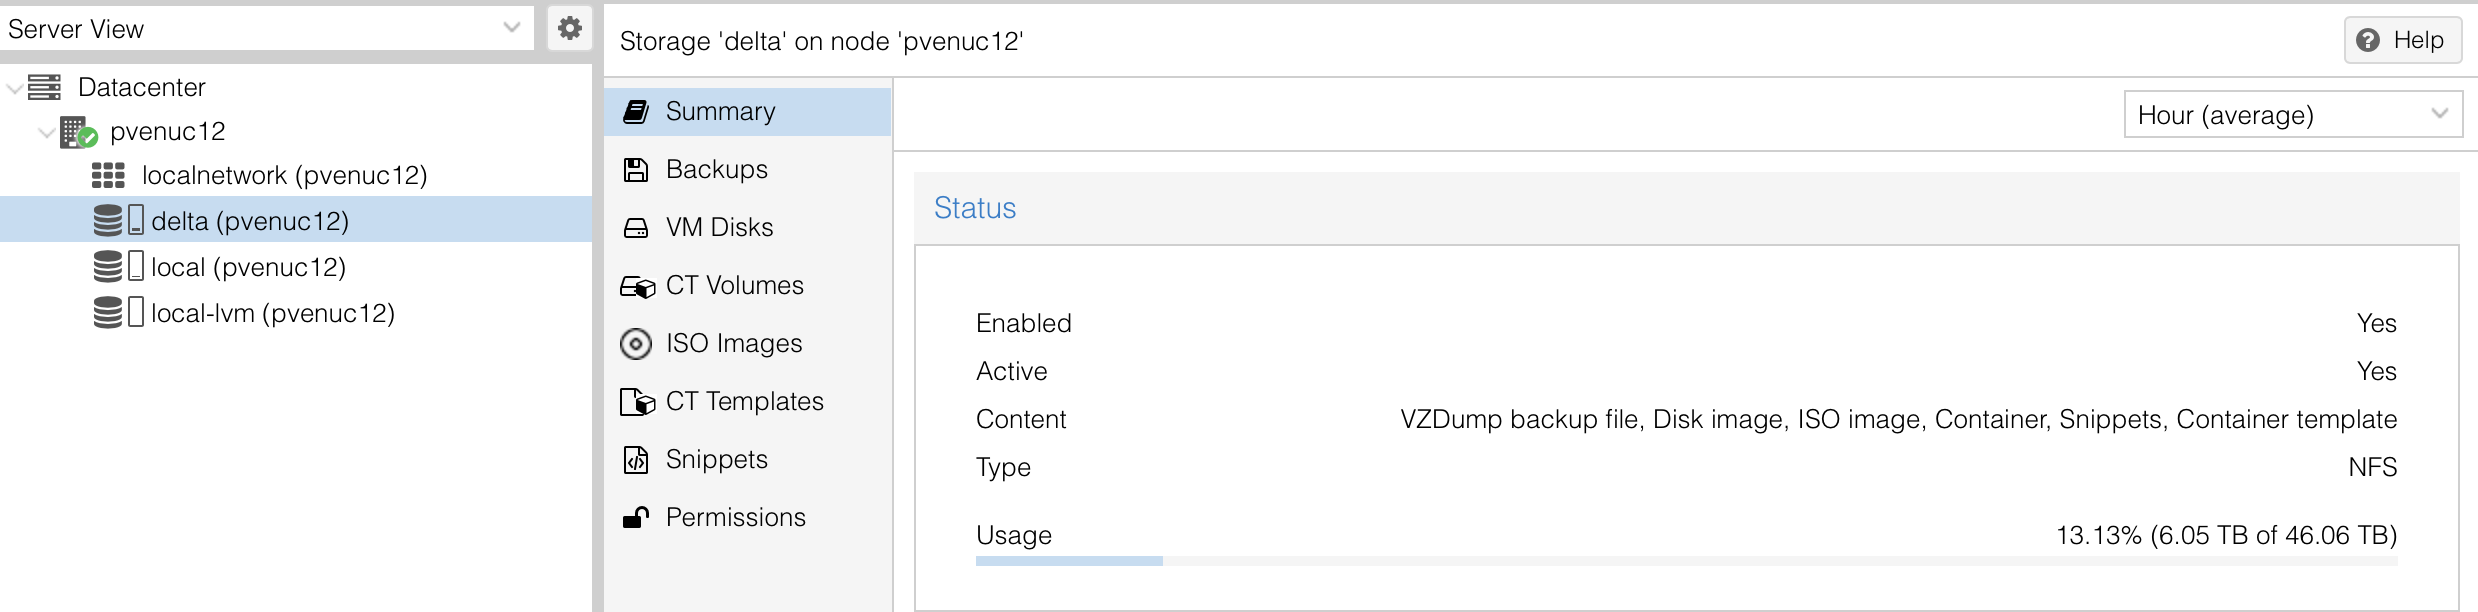
Once added, you should see it appearing just below local storage in Datacenter view.
Clicking on the NFS shared storage, should give you an active view like the one below.
¶ Install lm-sensors
Go to the shell of the node, and type the following:
apt install lm-sensorsCheck if install was successful by typing
sensorsYou should see the readings of processor temperatures.
¶ VLAN
To make your proxmox node or VM's/containers aware of VLAN's in your network, you can edit the node's network settings.
Go to Network settings of your node (under 'System') and doubleclick on the Linux bridge.
In the edit screen of the linux bridge, tick the box on the right next to "VLAN aware", like shown in the screenshot below.
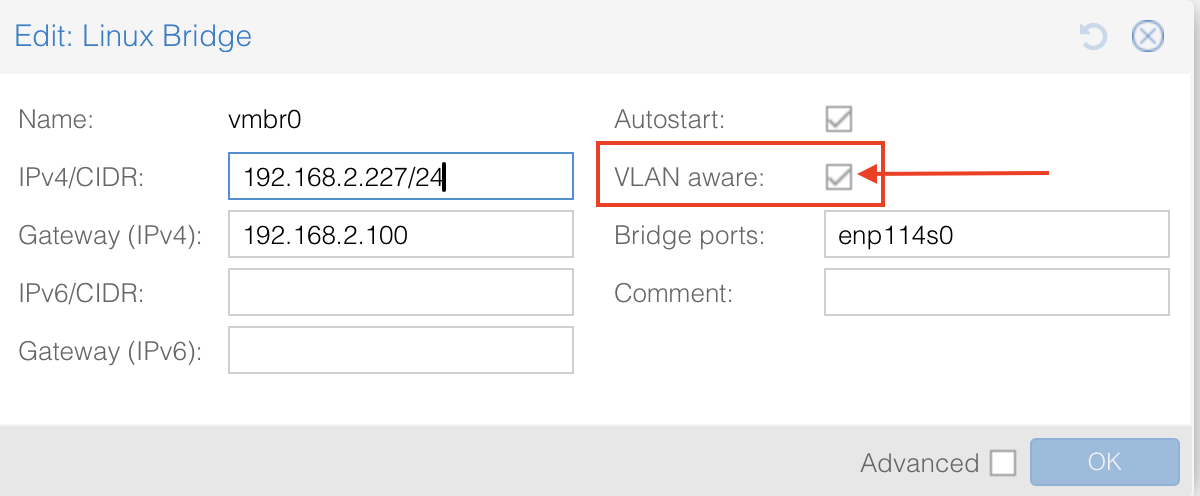
After clicking “OK”, click “Apply Configuration” to apply the change.
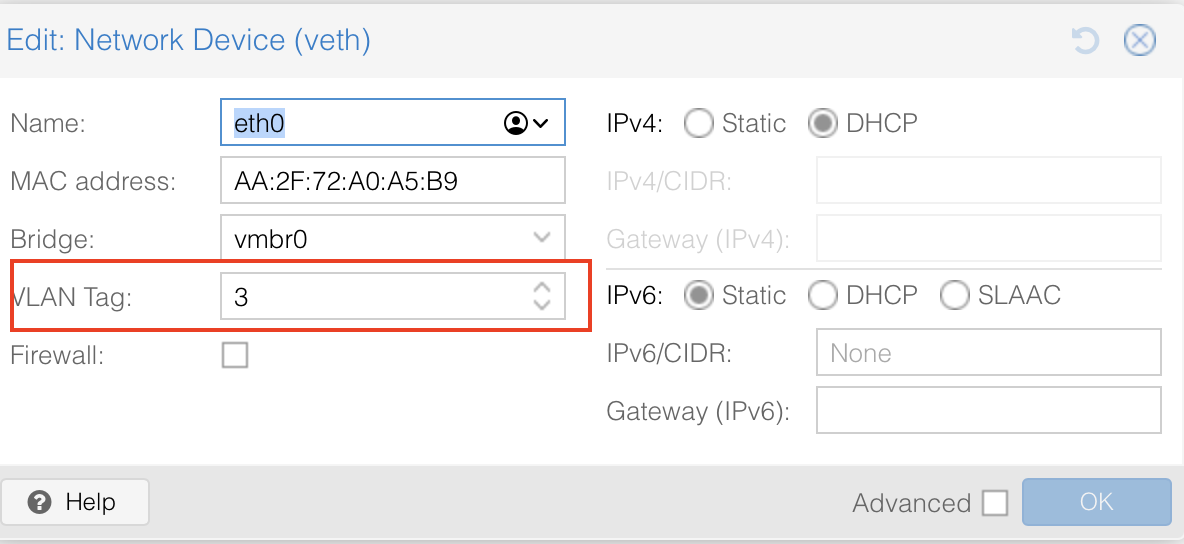
Once applied, you can assign a VLAN tag to your LXC containers by editing their respective network settings.